Stages to preform the gel method on nails
Discover your inner artist! Gel nail extensions step by step
Do you love beauty? Are you dreaming of a career as a nail tech? Be brave and fulfill your ideas! Change is HERe! Feel it and let yourself be driven by your passion, gain new experiences! Are you ready? Then get started, work hard and achieve success!
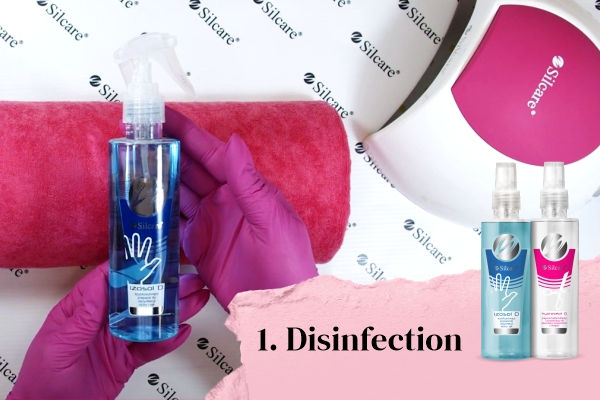
1. Disinfection, disinfection, and disinfection once more!
Disinfect the surface of your desk, tools, equipment, as well as, your own and your client’s hands. You can use Hydrosept to disinfect the surface of your desk, and Izosol to disinfect the skin on hands.
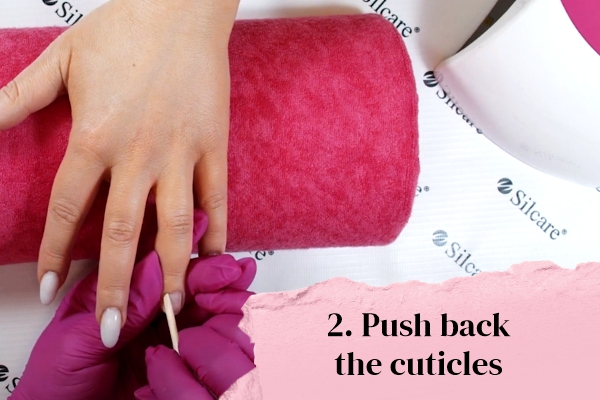
2. Push back the cuticles
First, assess the state of your client’s nails. If there are no visible signs of skin lesions, you can begin work. Use a short, wood nail stick to push back the cuticles, and if it’s necessary, remove them.
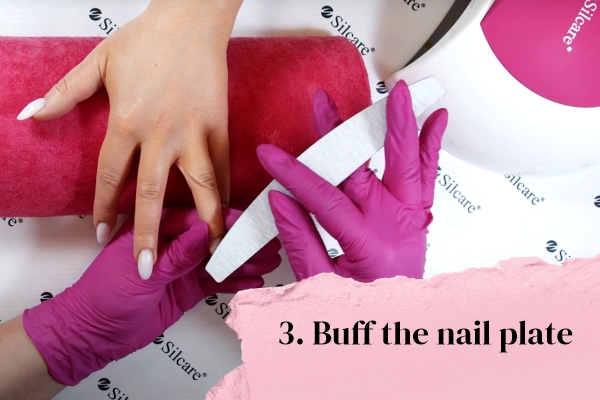
3. Buff the nail plate and shorten the nail’s free edge
Choose a banana-shaped nail file, and use the 180-grit side to gently, yet precisely buff the plate and shorten the nail’s free edge.
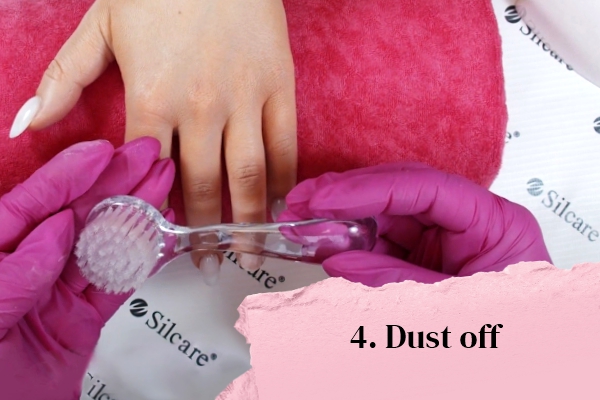
4. Dust off
Use a nail art dust brush to remove the dust from the nail plate.
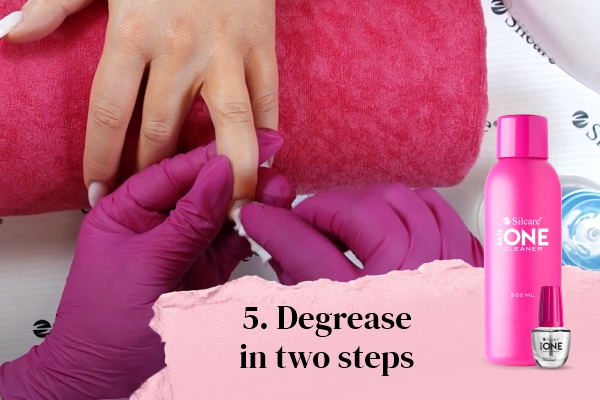
5. A two-step degreasing process
Before styling the nail, degrease the nail plate. Damp a cotton wipe with Base One Cleaner and wipe thoroughly. Next, apply Base One Nail Prep.
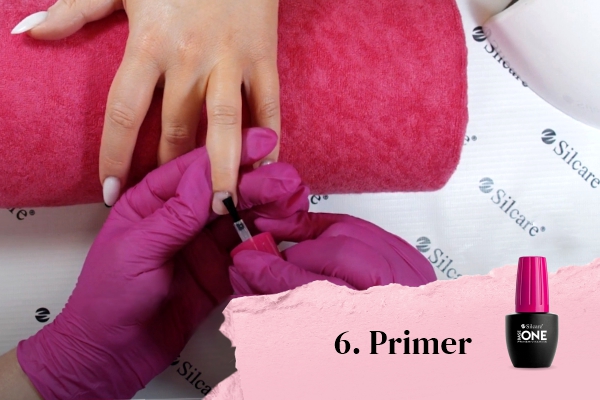
6. Primer!
Enhance the adhesion and apply Base One Nail Prep. Allow the product to evaporate.
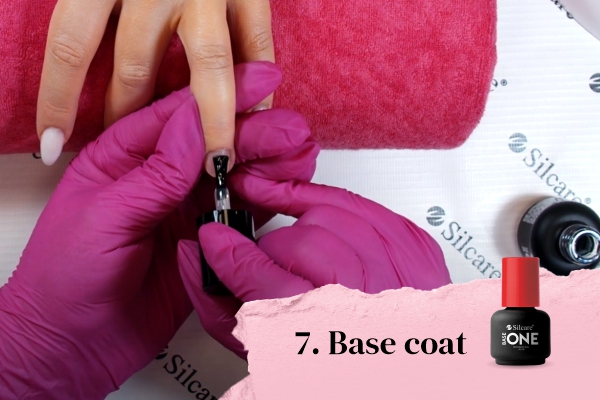
7. Base coat – enhancing the adhesion of gel mass
Apply thin layer of acid-free Base One UV Bonder Gel as a base coat under gel and cure for 60 seconds under UV-LED lamp.
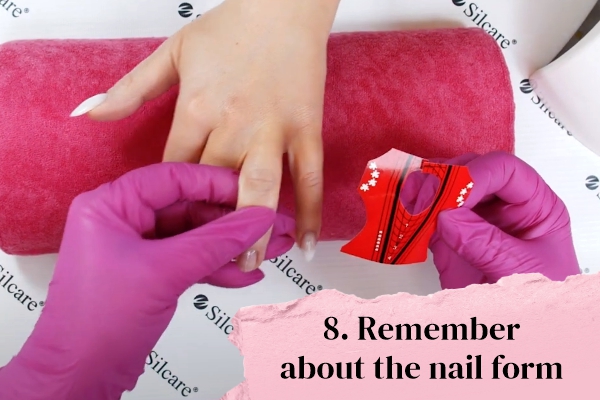
8. Remember about the nail form!
Place the nail form directly under the nail and curve it. This will allow you to obtain a temporary base for applying gel.
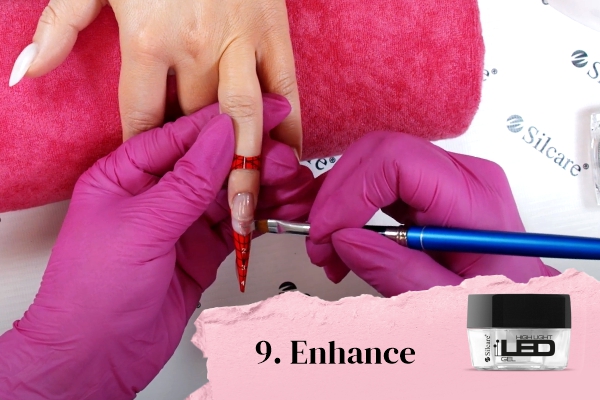
9. Enhance
Apply High Light LED with a gel nail brush and cure again under UV-LED lamp for 30 seconds.
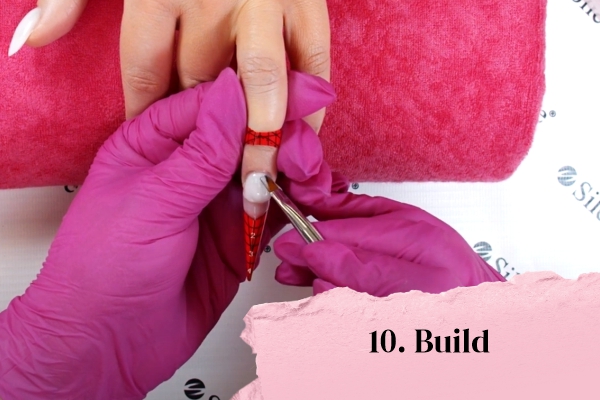
10. Build
Apply a building layer. Remember to maintain the proper shape of the nail you’ll be enhancing. Cure again under lamp for 60 seconds.
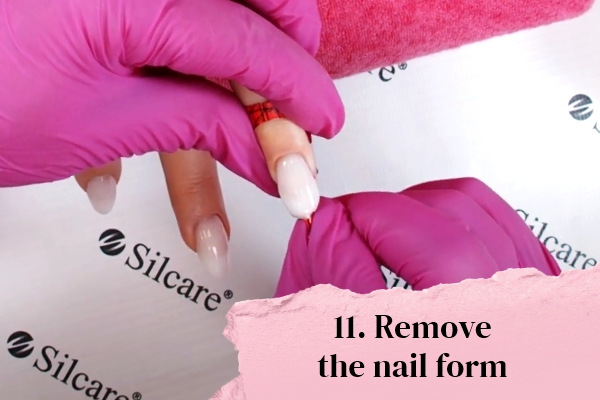
11. Remove the nail form
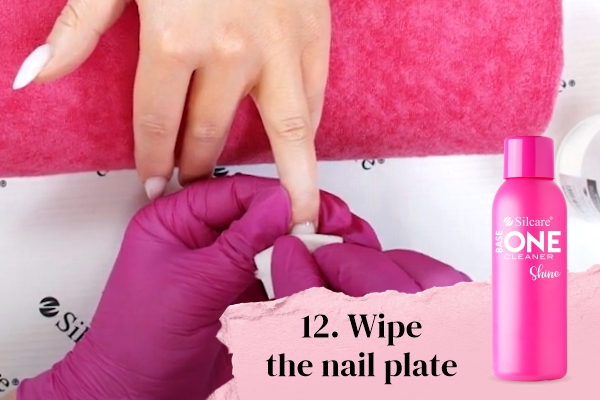
12. Wipe the nail plate
Damp a cotton wipe with Base One Cleaner Shine and wipe off the inhibition layer from the nail plate.
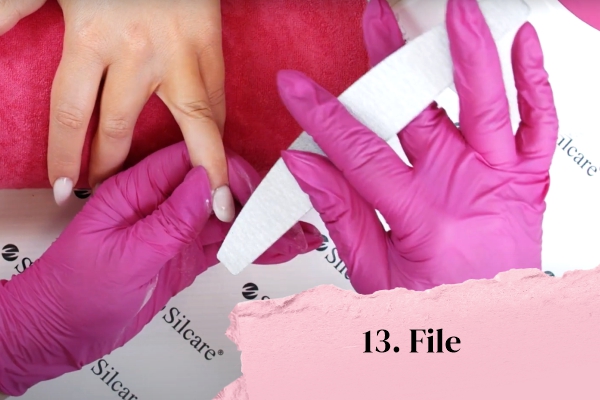
13. File
Use a nail file to smooth the nail’s surface and give it a proper shape and length.
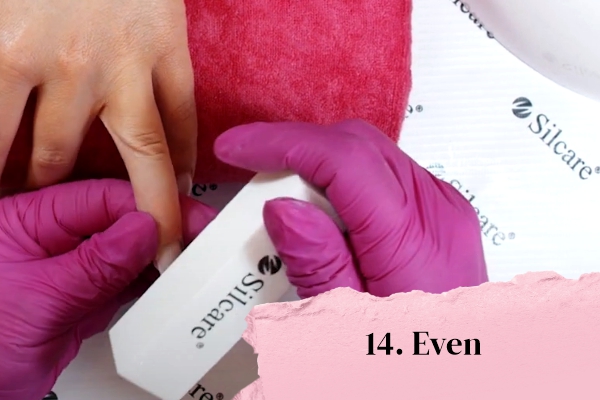
14. Even the surface and dust off
Using a buffing block, even the surface and remove the dust from the plate with a nail art dust brush.
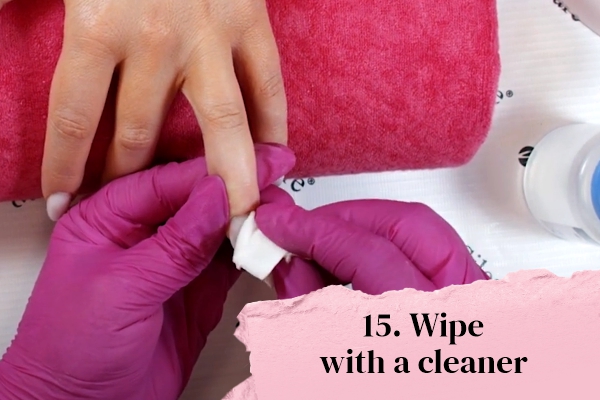
15. Wipe again
Wipe the nail thoroughly with Base One Cleaner Shine (pay special attention to the cuticle area).
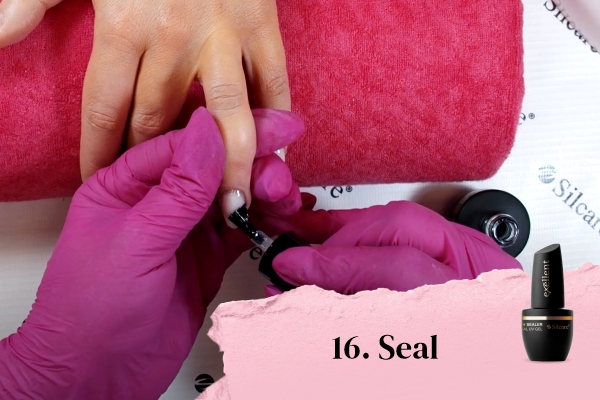
16. Seal
Apply proper amount of top coat, be careful not to flood the cuticles, and cure under lamp for 30 seconds.
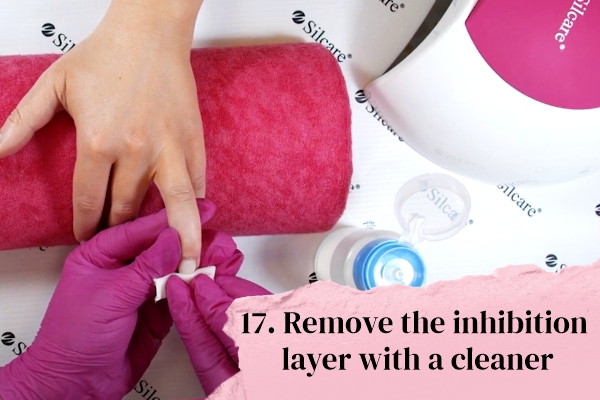
17. Remove the inhibition layer
Wipe the nail with Base One Cleaner Shine in order to remove the inhibition layer.
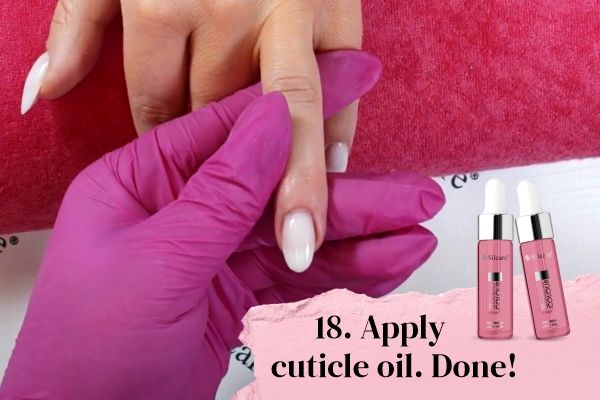
18. It’s finally done! Moisturize the fingertips and cuticles
Apply cuticle oil to cuticles and rub the product into the nail folds and fingertips.