Hybrid manicure step by step – short nails

The hybrid manicure is still very fashionable. Some women prefer longer nails, nevertheless the short ones can also adorn the hands. Such nails are simply more practical in everyday life. Both nude colors and visible ones, such as black or red, are ideal on them. In order to make the nails look healthy and neat, it is necessary to start with preparing the nail plate carefully and thoroughly, as well as applying each product evenly.
I presenty my work scheme with short nails below.
How to perform hybrid stylization step by step?
- Disinfect your and the client's hands.
- Push the cuticles back using either a cuticle stick or cuticle pusher.
- Buff gently the nail plate with a buffer block or 180-grit nail file and shape the free edge of the nail.
Note: In case of the short nail plate, the appropriate shape will be an oval or square. Any other shape is not recommended, because "short but pointed nails" effect is undesirable here. It is equally important to pay attention to the side lines of the nail, because they should be at one even level on both sides.
- When using a nail drill, work on the cuticle area and, if necessary, trim cuticles with nippers or scissors.
- Remove the nail dust and wipe the nail plate with a cleaner.
- Apply a dehydrator (so-called nail prep) on every nail. Optionally, you can also use a primer.
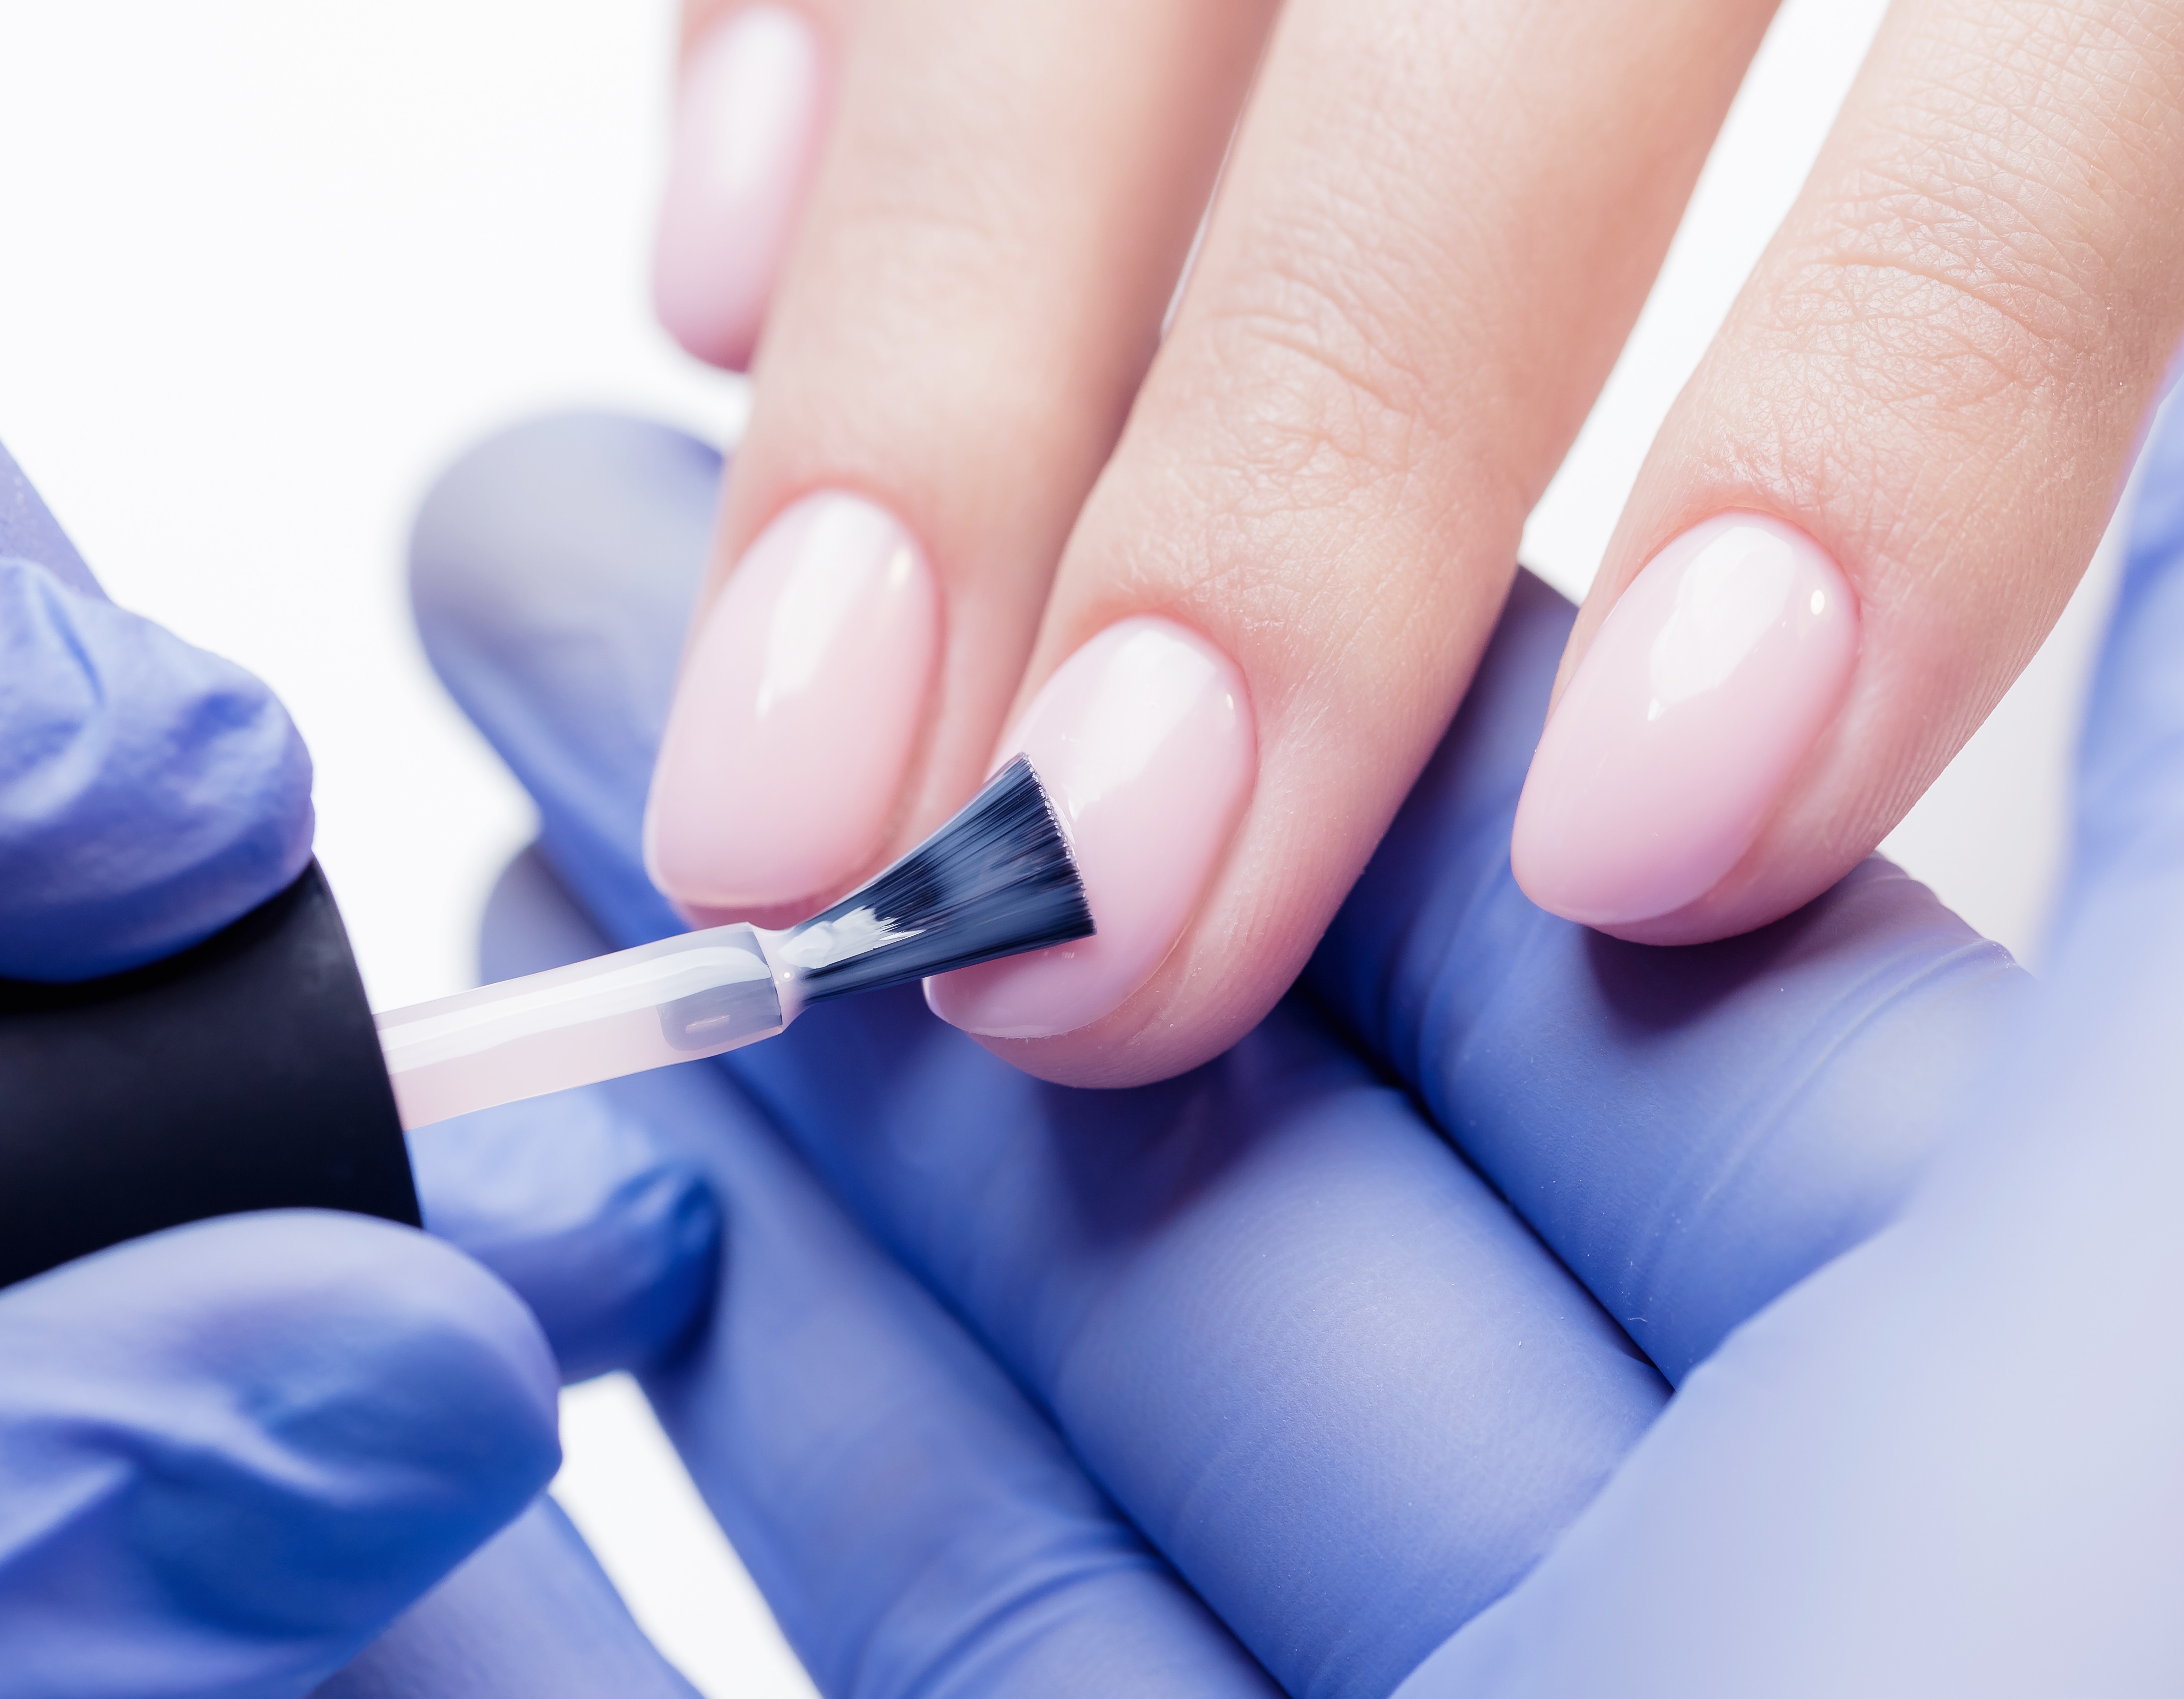
7.Apply a thin layer of base coat on the prepared nail (its purpose is to create good adhesion to the nail plate) and cure in a lamp according to the manufacturer's recommendations. After curing, wipe the inhibition (sticky) layer.
Warning: Do not cure the product on the skin. If you happen to stain your fingertip with the gel polish, remove the product with a stick or pusher. Only after correction cure the base coat.
At this point, you can not forget to seal the free edge of the nail. I do this with every product I apply (base, color and top). In case of short nails, you should pay special attention to this! Although you may find opinion that this practice has gone out of fashion, I have a different opinion. I believe that if something works, there is no need to stop doing it.
8.On the previously cured layer of base coat, apply the second layer (do this activity on one nail, so that the base coat does not flow onto the cuticles). This layer is necessary to level and overbuild the nail plate. Then apply the base coat to the next nails and cure in the lamp one by one, according to the manufacturer's recommendations. Do not wipe off the inhibition layer.
- After curing the base coat, apply the selected color and cure in the lamp according to the manufacturer's recommendations. Do not wipe the inhibition layer, unless the decoration requires it.
- Apply a top coat on the color. Cure according to the manufacturer's recommendations. At this point also secure the free edge of the nail. If the top has an inhibitory layer, remove it with a cleaner.
Note: Do not wipe the top immediately after taking it out of the lamp, as there is a risk of becoming dull! It must cool down before using the cleaner. A top coat without the inhibition layer does not need to be wiped off, but wait a while before applying a cuticle oil. Doing it too quickly may dull the top coat. Before applying the oil, it is a good idea to check the sides of the nail near the lateral folds. If any unevenness has appeared at the cuticle area after the top has cured, you can gently file them out with a nail file.
- Finally, apply an oil to the cuticles and massage it lightly. The function of this step is purely aesthetic. If you do not use the cuticle oil systematically, that is, at least twice a day, it has no effect on the condition of your nails and cuticles.
Beata Śliwińska,
Silcare Brand Instructor
Winner of the Championship at the KingdomBeautyCrown Nail Championship in London